


 Crown Win
A barcode can look fine on a flat packaging proof and still be hard to scan at checkout. After the box is folded, the code might sit too close to a corner, disappear under a sleeve, or reflect light from a glossy finish. Even a code that scans can cause problems if it identifies the wrong product.
Before approving a retail box, check three things: the barcode identifies the correct product, the entire symbol is accessible on the assembled pack, and the print quality meets the requirements for the intended sales channel. Review the finished package as a cashier would see it, with all sleeves, labels and seals in place.
1. Confirm which barcode your sales channel needs
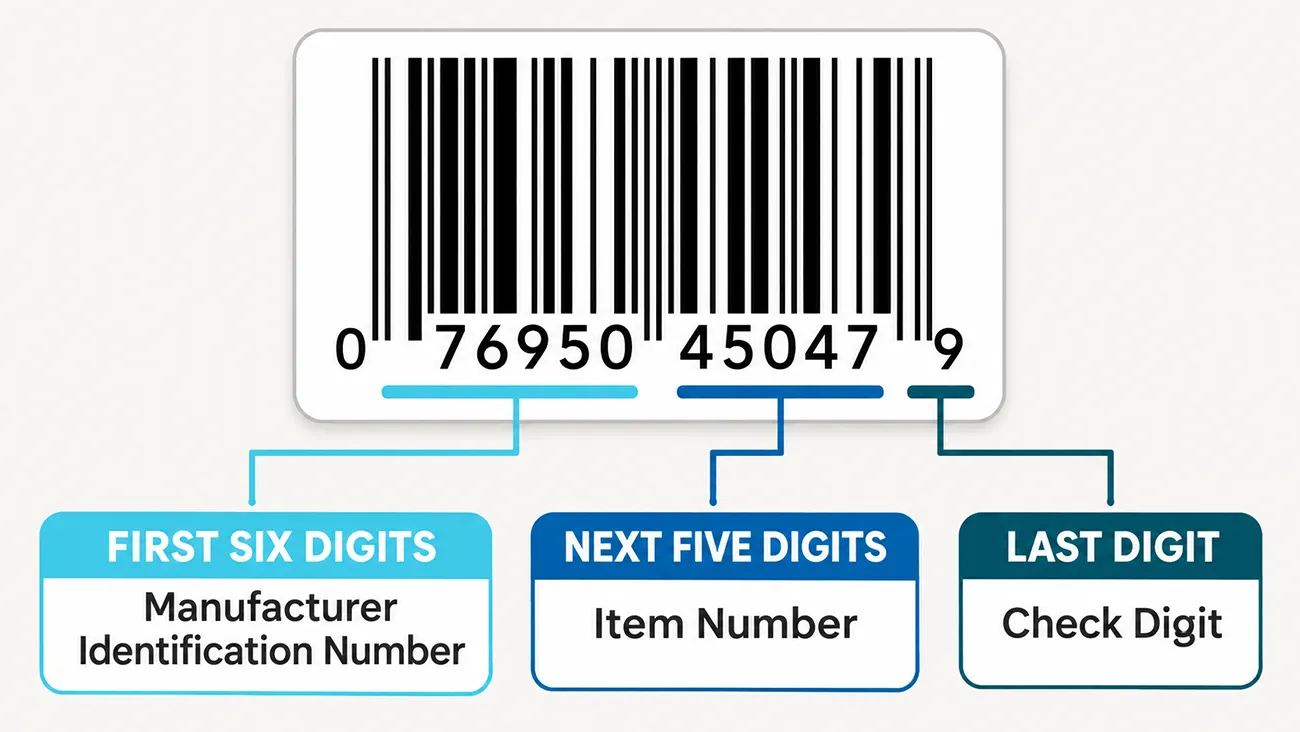
Start by asking the retailer or channel partner which barcode type and product identifier it expects. A checkout barcode on an individual retail box has a different job from a logistics code on the outer shipping case. A QR code for product instructions or a marketing campaign should not be assumed to replace the checkout barcode. If you plan to use a 2D barcode at checkout, confirm that the retailer supports the intended symbol and data. GS1’s retail 2D barcode guide
If several box designs share the same layout, verify the barcode for each product version separately. For example, if a gift set and a single item have different assigned identifiers, confirm that the final artwork for each pack contains the right code. Decode the actual symbol and compare the result with the approved product record. Checking only the digits typed into the artwork can miss a mismatch.
2. Choose the barcode position on the assembled box
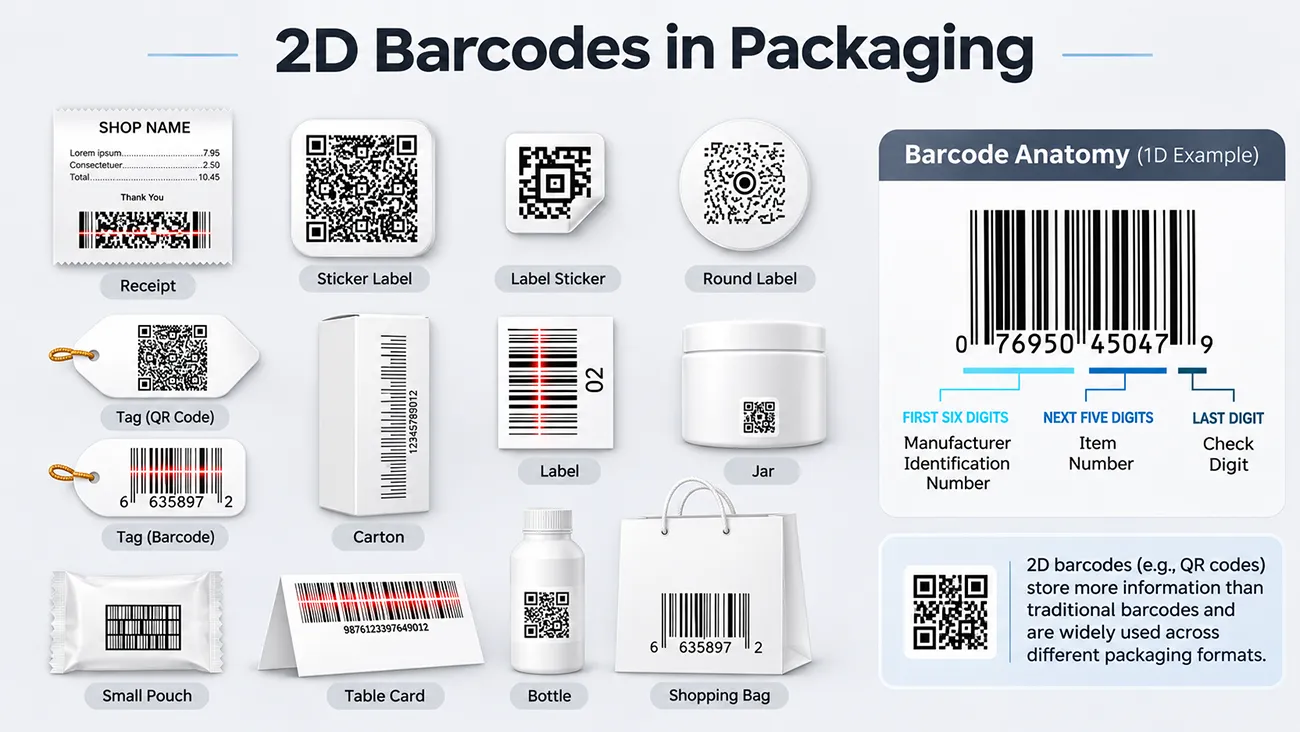
Select a flat, accessible panel where the full barcode will remain visible after assembly. Keep it away from folds, seams, corners, openings and overlapping flaps. Check the quiet zones, the clear areas around the symbol that help a scanner distinguish it from surrounding graphics. The required clearance and symbol size depend on the barcode type and scanning environment. GS1 General Specifications
Here’s an easy mistake to catch with a mock-up: a barcode fits neatly on the back of a gift box in the artwork, but a decorative sleeve covers part of it once the set is packed. Decide which surface the cashier will actually see, then position the code on that surface or move the sleeve clear of it.
Avoid squeezing the barcode into leftover space. If a panel is too crowded, move a graphic or choose another panel before reducing or reshaping the symbol.
3. Check contrast on the material and finish you will use
A conventional choice is dark bars on a light, opaque background. If the box uses dark paper, metallic stock or a decorative finish, ask the printer how it will provide sufficient contrast in the barcode area. A light background in the PDF may not look the same when printed on colored stock. Foil, gloss and texture can also affect how a scanner reads the finished symbol.
Ask to see the code at its actual printed size, with the proposed finish over or around it. If you are comparing two finishes, review the same barcode on both. That gives you a more useful comparison than checking one printed sample against a screen preview of the other.
4. Test the finished pack before approving the order
Use a sample that represents the intended materials and print process. Assemble it as it will be sold, then work through these checks:
1.Check visibility. Make sure the complete barcode and its quiet zones remain clear after folding, sealing and adding any sleeve or label.
2.Check the data. Scan the printed code and compare the decoded identifier with the approved product record for that SKU.
3.Check print quality. A successful phone scan is a useful first check. If the retailer specifies a verification grade or report, request verification of the finished printed barcode against the applicable requirements. GS1 guidance on barcode print quality and verification
4.Record the approved sample. Keep the artwork revision, barcode position, substrate and finish with the approval. If one of these changes on a reorder, decide whether the revised pack needs another check.
What to send with your packaging brief
Send the supplier the barcode artwork, the SKU and its approved identifier, the intended sales channel, and any placement or verification requirements from the retailer. Include the planned sleeve, label or seal so the supplier can check the pack as a whole.
Preparing a retail box for production? Share your dieline, barcode artwork and proposed finish with Crown Win. Ask which sample can help you check the barcode on the assembled box before committing to the production run.
 How to Approve Packaging Print Colors Before Production